If you have seen the other two wargaming castle blogs that I have posted over the past week you will be familiar with the development of a modular castle suitable for playing a wargame.
With the prototype wall section being complete apart from the final paint coating I decided to move onto the tower section.

The tower is simply made up of two 8'' by 4'' sections of 2'' ('' denotes inch) fixed together with 'no-more nails'. I have found this to be a great adhesive for this kind of work as it has a quicker drying time than the contact adhesive used in other areas on the project.

The battlements have been cut and fixed in place using the same measurements and methods as the wall section so I won't be repeating the instructions here. The corner sections were problematic to create having to cut four bespoke corners to fit and then fill any gaps. On future towers I intend to overlap the battlement on the corners to simplify the construction part of the project.
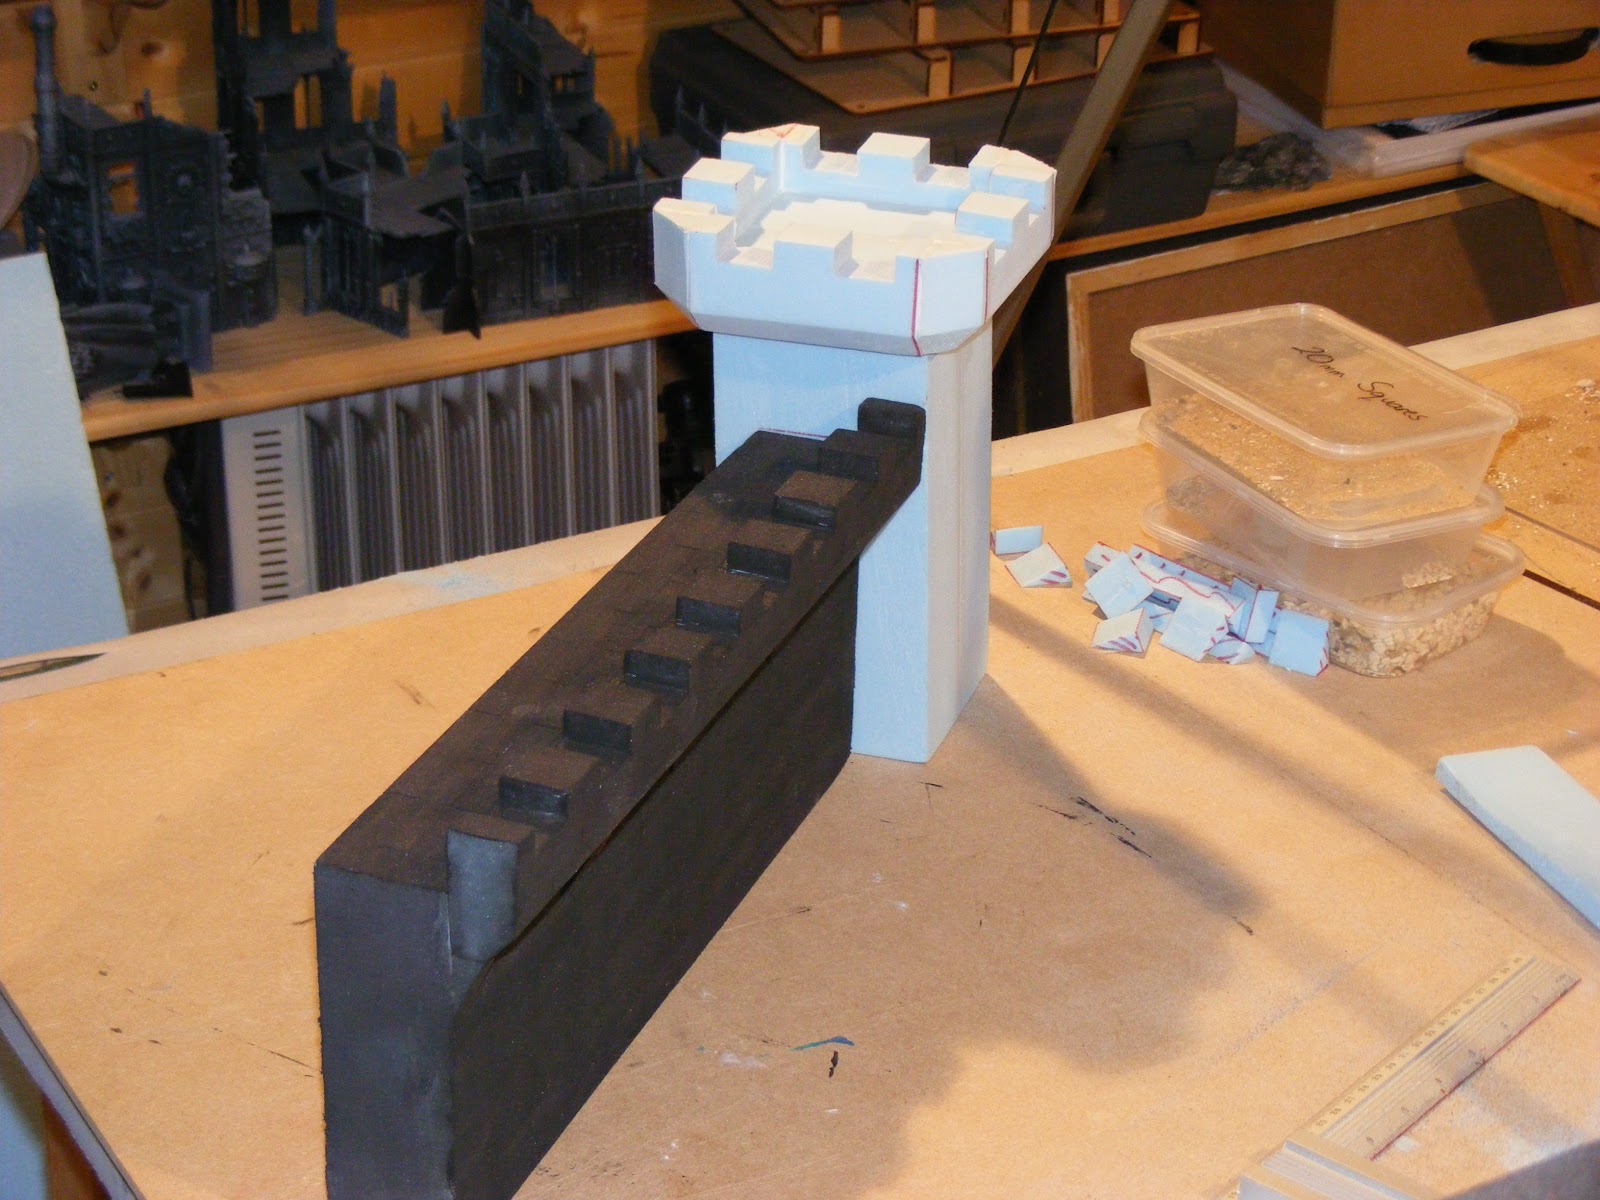


I placed the wall section next to the tower and noticed that the area for the door leading on to the battlements is limited. To prevent this from becoming a noticeable, I modified the support block shown below.

The usual sloping support blocks.

The sectioned support blocks, still sloping, but not to a point. The red line mark indicates the top of the wall. The distance between the bottom of the support block and the red line is 35mm, a suitable size of a door frame for a 28mm scale.

Only two of the four sides of the tower will have doors placed in them to prevent doors from appearing on the outside of the castle.
No comments:
Post a Comment