Wednesday 22 December 2010

On Your Bike! Refurbishing Space Marine Bikers Part One

 As part of my Budget Blood Angels challenge (1500 points of Blood Angels army for £50 by end of year) I bought some Space Marine Bikers. Having never played Space Marines before I don't know if the Bikers are good. I have bought them purely because I like the look of them.

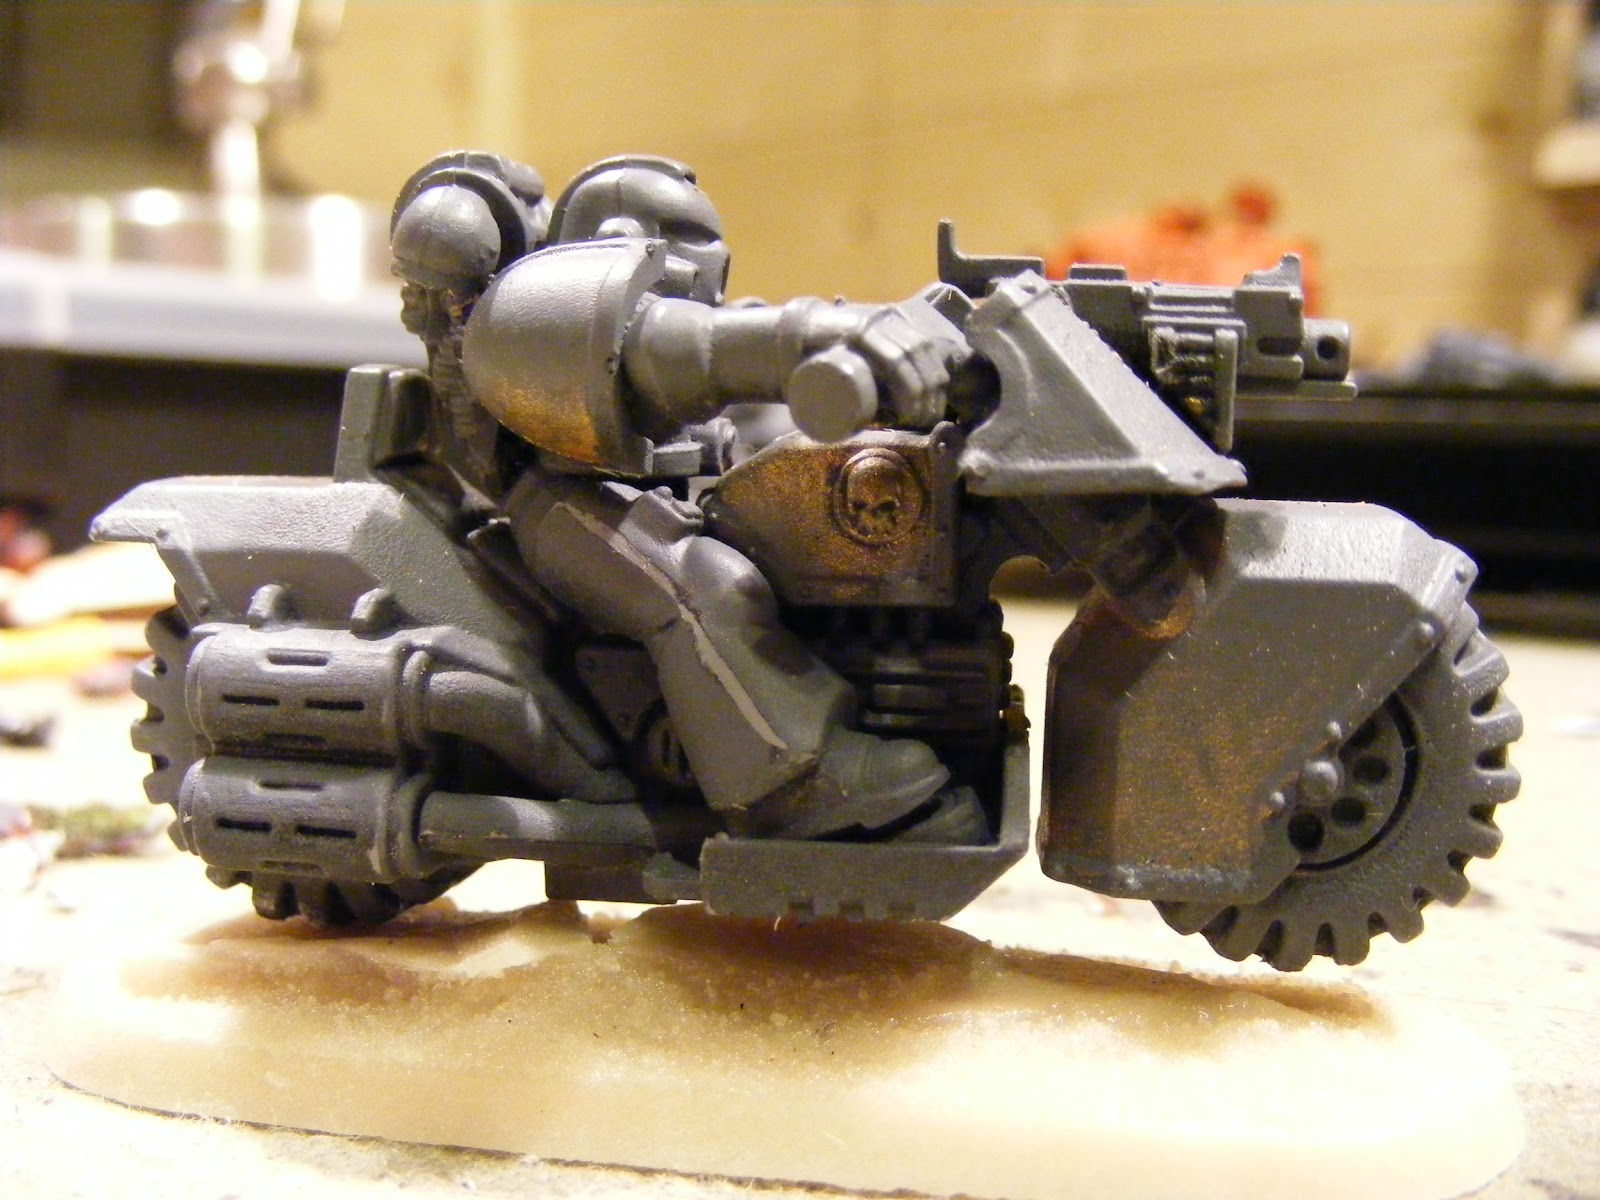
I bought a total of 9 bikers and 1 attack bike for a total of £20.98 and spent a further £3.98 on ten resin bases. I intend to break them down into two squads, one of five bike and the other of four and an attack bike. Squad one with one marine upgraded with a plasma gun costs around 155 points. Squad two consists of four bikers and an attack bike upgraded with a multi-melta costing around  180 points. The sergeant of the second squad will also have a power weapon upgrade.


This was fairly straight forward as the sidecar is attached by a metal plate on the underside which 'popped' off cleanly with a bit of encouragement.


In order to get the two squads I had to separate the attack bike as the previous owner had put both a multi-melta upgrade and a plasma gun upgrade.

Many of bikes has the old square bases, possibly explaining why I got them at such a reasonable price. I bought the resin bases off Ebay from a seller whose name escapes me at the moment for 5 @£2. If you're really interested drop me a comment and I'll search my history.


On these bases in order to get a good fix I feel pinning is essential. I pinned the back wheel which enabled me to pose the figures in more dynamic poses.


A simple undercoat of Scarlett red from the Vallejo Model Air range before painting.  

The painting took quite a while. So far I have painted 5 and I would say that it has taken me in the range of 7-8 hours so far including the modelling.


Squad One.


It is quite easy to see the screens of the bikers from above so I added suitable detail on the screens.


Not all of the bikes were assembled to the standards that I would like. I tidied the bikes up as much as I had time for before painting. Any blemishes and imperfections that could be seen after painting I have disguised as battle damage to the paint work.


I simply painted the area black and then went over with gun metal to give the appearance of paint being removed during battle.


Decals added to shoulder pads and tufts of grass to the bases.

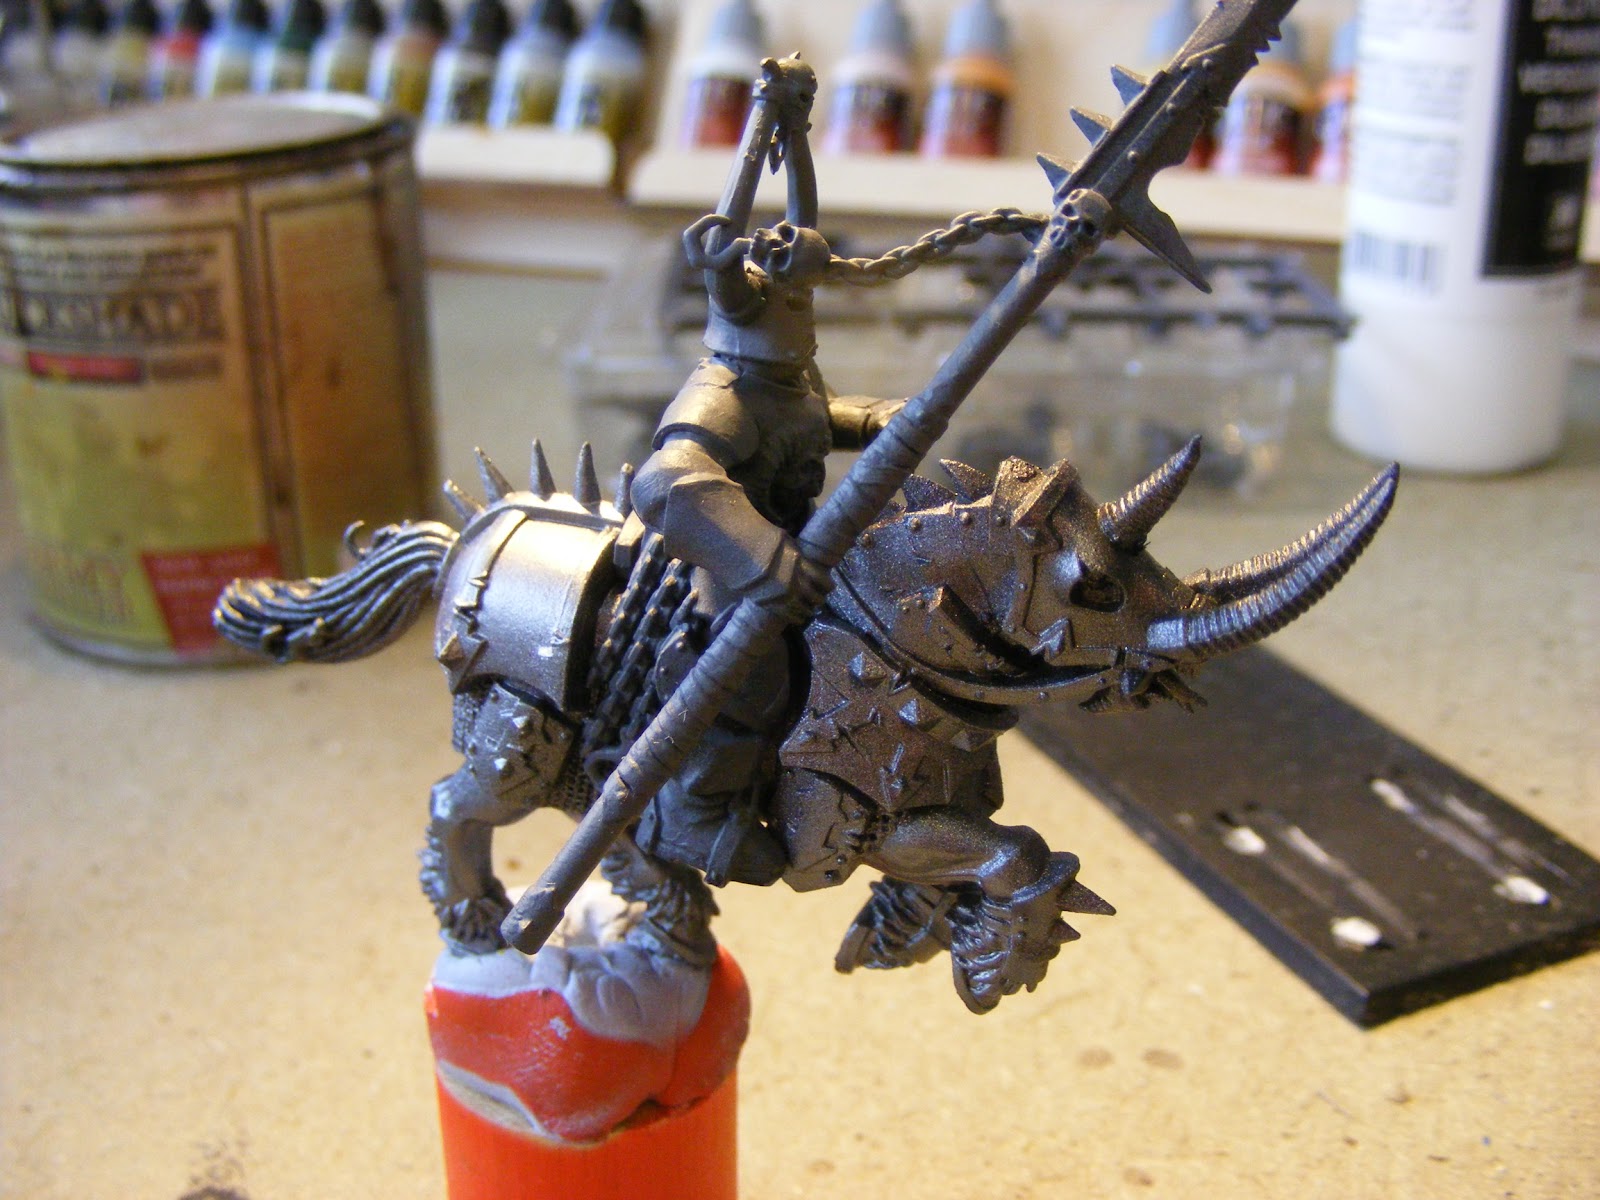
The Blood Angels fast attack marines have yellow helmets and of course red everywhere else!

Budget Blood Angels Challenge So Far

Points for 5 Terminators, including one sergeant and a heavy flamer, 205.  £4.99.
Points for 10 bikes including an attack bike and upgrades, 335. £24.97
Total Points 540, Total Cost £29.96

Building a Chaos Warshrine

Choosing the Bits

I played my first Warriors of Chaos game at my local Games Workshop and was lost convincingly. While I did have around 700 points left of a 2000 army I just could not get to those pesky goblins to beat them up. I fielded two units of war hounds to trigger his fanatics, two units of Chaos Warriors and a horde of Marauders. The special abilities of one of his wizards meant that my horde unit did not even start on the table. Rather than a lengthy battle report lets just say that I will be looking to refine my army.

One guy at the store suggested using a Warshrine. GW do not make a specific model to use as a Warshrine so there is a lot of freedom to design your own. Here is my attempt.

I thought that a bronze statue of a fallen hero being pulled by Chaos Knights with banners would give a majestic and inspiring presence to the army. 

Are You Pulling My Chain?

I intended to use two Chaos Knights to pull a chariot chassis connected with chains. Both of the knights will also carry banners.


 This knight I used on the left side of the chassis.


Due to the bend in his arm I thought about removing the lance and replacing it with a chain in his right hand. A 'beefed up' banner would then go into his left hand.

 After removing the lance.


Attaching the chain.


Here are the elements used to make up the banner consisting of a standard knights banner with an extension cut from another banner pole and the head piece from a Marauder Horsemen kit. 

The next knight I chose because I thought the way he was holding his lance aloft would make for a straight forwad conversion into a standard.


Attaching the chain.


I bought both of these guys off Ebay so it is no great expense chopping them up. I prefer my knights to fight with their special weapons rather than the lance so I was going to have to perform surgery sooner or later anyway.


Making The Base


I had an old chariot base and as you can see it had seen better days. My Chaos Army has a 'Lava' Theme regarding the bases so the initial condition of the base did not worry me.


I marked around the base using a craft knife to get an overall size of the base. The material I used has different names. I recognise it as HIPS (high impact polystyrene) but I bought this off Ebay as plastic card.


Next using a craft knife I scored some lines that will provide the earth cracked by the lava underneath.


After cutting the lines I loosely fitted the pieces back together. (It helps if you have a photo of an earlier to put the pieces together. It soon becomes a complicated tangram puzzle otherwise!) 


A layer of modelling paste was spread over the chariot base. It may be possible to use poly filler but I am not sure if the effect would work unless mixed on the sloppy side. I paid £2 about six months ago, it's ready mixed and it goes along way (I've done a whole chaos army and there's still a third of a tube left!) so I would recommend investing in a tube.


Finally the cut out plastic card is placed on the paste while still wet.


The 'spilling' of the paste looks like molten lava, just needs painting to imply heat.


Nice Chassis

The basic chassis used is the orc chariot. I removed the horn parts from the main beam.

I did not want to use the Orc scythes as I felt this would take it too far away from the Chaos look. Also the Warshrine is not a chariot and fights more like a Monstrous Creature than a chariot so I used some weapon heads and chains to give the appearance of a Chaos inspired vehicle for carrying a state.


 Is Stat You?

The statue to be used on the chassis is basically a Chaos Warrior champion. Minor change to the warhammer in that I place a small spike on top but other than that it's original. I'm hoping that the bronze paint effects will make it appear like an esteemed statue of a fallen hero. 


Strike a Pose


The last photos that I took of the construction phase shows all of the components placed together. The glue is still drying which is why the blutac is still there, it won't be on the finished model :).

Again to make it more Chaos in appearance I thought some skulls would assist.


Some close up views of the wheels.


Our hero!

 With this many banners it can't but help to inspire surrounding units.


Sunday 5 December 2010

Team Terminators!

I have managed to complete the five Terminators for my 'Warhammer on a Budget' army. Below are photos of the reconditioned figures including the 40mm bases.

Captain with power sword and storm bolter.


The remainder of the Terminators have Power Fists and a storm bolter. I used a pining hand drill to drill out the barrels on the storm bolter.


The Terminator below had some damage to it. I would guess that the builder had been too vigorous with the snipes when removing it from the sprue. I used a tiny amount of green stuff to repair the shoulder then used paint to make the area seem battle damaged from enemy fire. This is the first time that I have used the black on an area with silver on top. I have seen it demonstrated on Youtube with vehicles and thought I'd give it a go.


Finally all five together for the group photo. 


Project so far.

Five Terminators - £4.99, 205points. Time taken (Approximately 5 hours)